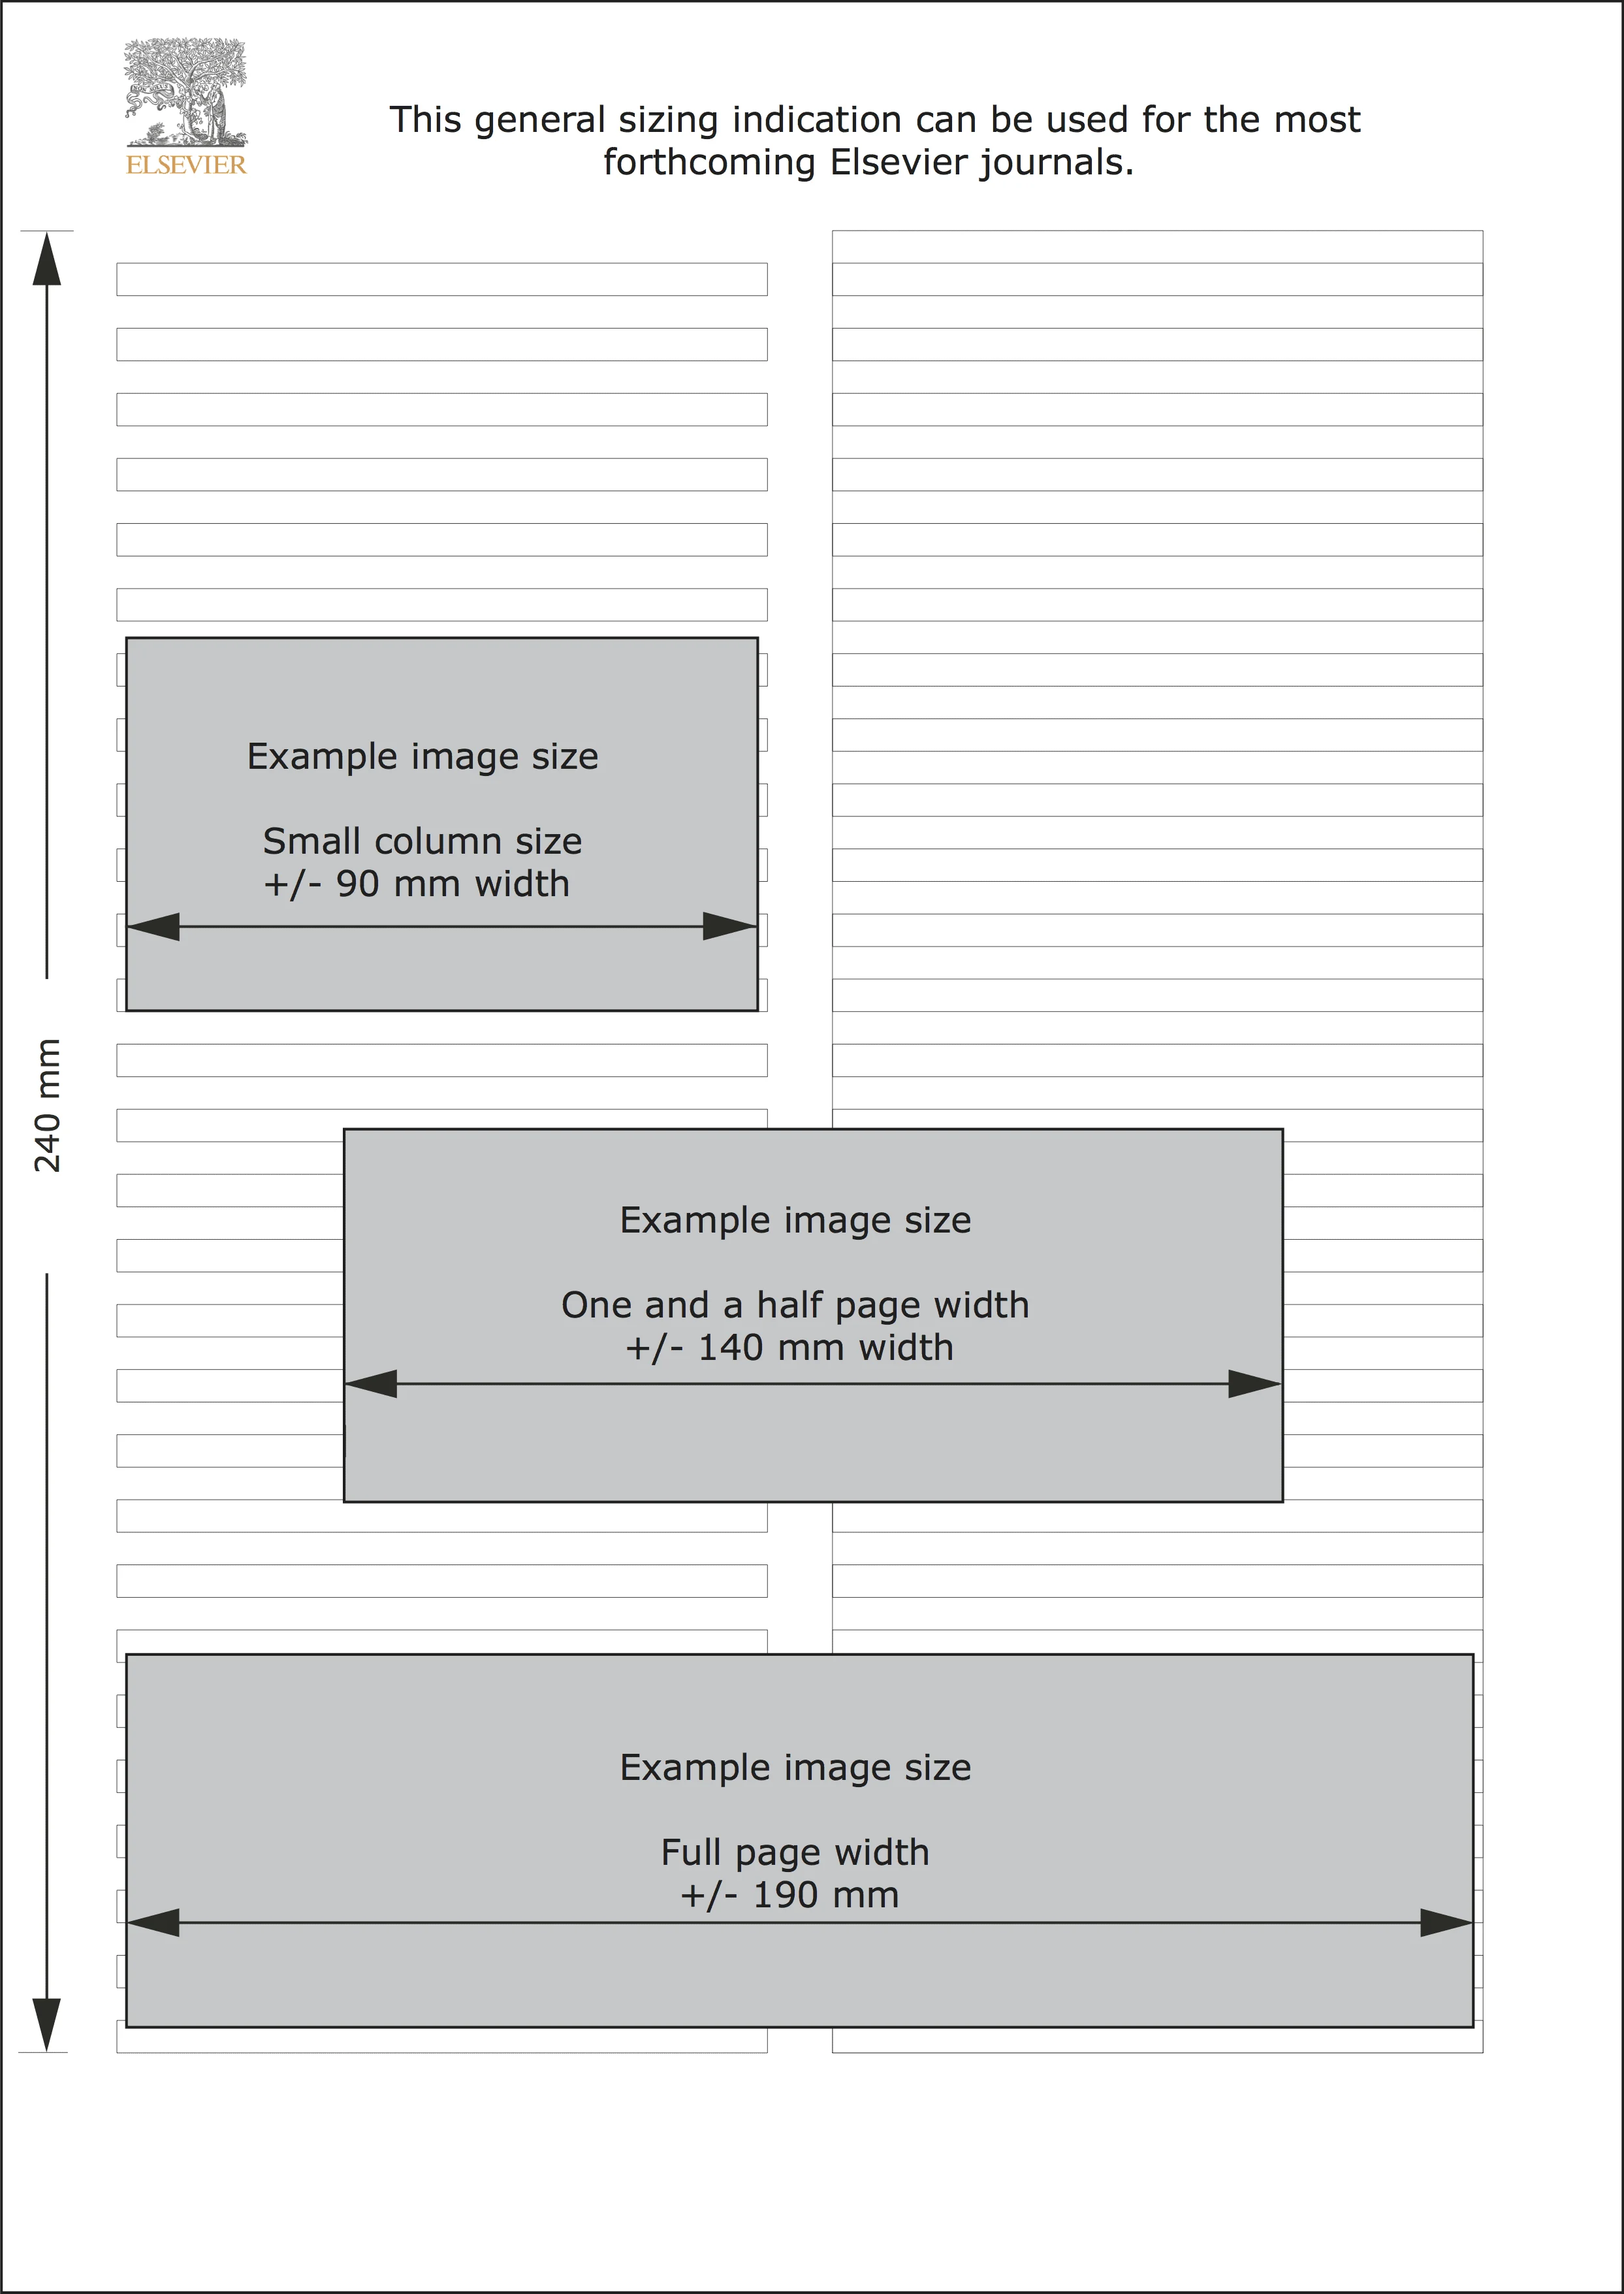
Artwork sizing
Sizing of artwork
Elsevier's aim is to have a uniform look for all artwork contained in a single article. It is important to be aware of the journal style, as some of our publications have special instructions beyond the common guidelines given here. Please check the journal-specific guide for authors (available from the homepage of the journal in question).
As a general rule, the lettering on the artwork should have a finished, printed size of 7 pt for normal text and no smaller than 6 pt for subscript and superscript characters. Smaller lettering will yield text that is hardly legible. This is a rule-of-thumb rather than a strict rule. There are instances where other factors in the artwork (e.g., tints and shadings) dictate a finished size of perhaps 10 pt.
When Elsevier decides on the size of a line art graphic, in addition to the lettering, there are several other factors to assess. These all have a bearing on the reproducibility/readability of the final artwork. Tints and shadings have to be printable at finished size. All relevant detail in the illustration, the graph symbols (squares, triangles, circles, etc.) and a key to the diagram (explaining the symbols used) must be discernible.
Sizing of halftones (photographs, micrographs, etc.) can normally cause more problems than line art. It is sometimes difficult to know what an author is trying to emphasize on a photograph, so you can help us by identifying the important parts of the image, perhaps by highlighting the relevant areas on a photocopy.
The best advice that we give to our graphics suppliers is to not over-reduce halftones, and pay attention to magnification factors or scale bars on the artwork, and compare them with the details given in the artwork itself. If a collection of artwork contains more than one halftone, again make sure that there is consistency in size between similar diagrams. Halftone/line art combinations are difficult to size, as factors for one may be detrimental for the other part. In these cases, the author can help by suggesting an appropriate final size for the combination (single, 1.5, two column).
Number of pixels versus resolution and print size, for bitmap images
Image resolution, number of pixels and print size are related mathematically:
Pixels = Resolution (DPI) × Print size (in inches)
300 DPI for halftone images; 500 DPI for combination art; 1000 DPI for line art. 72 points in one inch.
TARGET SIZE | Image width | Image width | Pixels at 300 dpi | Pixels at 500 dpi | Pixels at 1000 dpi |
|---|---|---|---|---|---|
Minimal size | 30 mm | 85 pt | 354 | 591 | 1181 |
Single column | 90 mm | 255 pt | 1063 | 1772 | 3543 |
1.5 column | 140 mm | 397 pt | 1654 | 2756 | 5512 |
Double column (full width) | 190 mm | 539 pt | 2244 | 3740 | 7480 |
Visualization

Artwork sizing